System Setup
These tutorials will walk you through creating and deploying a basic seasketch geoprocessing project. You should already have a basic working knowledge of your computer, its operating system, shell environment (command line), and web application development using NodeJS and React. Learn more about the skills required.
Setup options:
- MacOS
- Windows
- Virtual install with Windows Subsystem for Linux (WSL)
- Virtual install with Docker Desktop
- Direct Install on Windows not supported
- Ubuntu Linux
- Github codespaces
- Possible but not well tested
A virtual environment is the recommended way for beginners to develop geoprocessing projects. Docker Desktop is the recommended methods on MacOS and Linux. WSL is the recommended method on Windows.
Virtual Install With Docker Desktop
Docker Desktop allows you to run containerized applications that are isolated from your host operating system. It's similar but different from a virtual machine. SeaSketch publishes the docker-gp-workspace container image that is a fully-configured environment for developing geoprocessing projects. It allows you to get up and running quickly and has persistent storage. The downside is that code runs a bit slower in a container than directly on your system.
Install steps for all operating systems:
- Install Docker Desktop on your host operating system and make sure it's running.
- If you have a Mac, choose either Apple processor or Intel processor as appropriate. If you don't know, click the apple icon in the top left and select
About This Macand look forProcessor.
- If you have a Mac, choose either Apple processor or Intel processor as appropriate. If you don't know, click the apple icon in the top left and select
- Install VS Code on your host operating system and open it.
- Clone the geoprocessing-devcontainer Github repository to your host operating system, and open that folder in VSCode.
- From VSCode, click
Open Folderbutton orFile -> Open Folderand create or choose a folder where you keep source code. A folder calledsrcorcodein your users home directory is reasonable. Then clickSelect Folderto finish. - Press
Ctrl-JorCmd-backtickto open a terminal. The current directory of the terminal will be your workspace folder. - Enter the command to clone the geoprocessing-devcontainer repository to your workspace.
git clone https://github.com/seasketch/geoprocessing-devcontainer- If you had previously cloned this repository then update it now with
cd geoprocessing-devcontainer && git pull
- Click
Open Folderbutton orFile -> Open Folderand open the repo folder you just cloned. - Press
Ctrl-JorCmd-backtickto open a terminal again.
- From VSCode, click
- Install required VSCode extensions. You may be prompted to do this, otherwise go to the
Extensionpanel found on the left side of the VSCode window. Then install the following extensions:- Remote Development
- Remote Explorer
- Docker
- Dev Containers
Once you have added the Dev Containers extension you should be prompted to "Reopen folder to develop in a container". Do not do this yet.
- In the file
Explorerpanel, open the.devcontainerfolder.- This top-level folder contains the configuration for the
stablegeoprocessing devcontainer you will use.
- This top-level folder contains the configuration for the
- Make a copy of
.devcontainer/.env.templatefile and name it.env.- You don't need to add anything yet to your .env file, but it is required that it exists in the
.devcontainerfolder.
- You don't need to add anything yet to your .env file, but it is required that it exists in the
Now start the devcontainer:
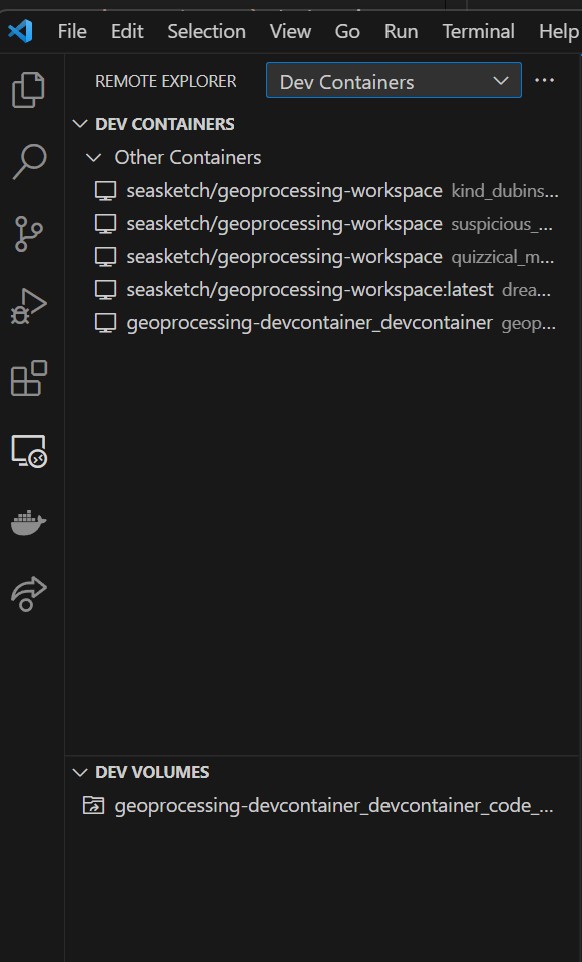
Ctrl-Shift-PorCmd-Shift-Pto open the VSCode command palette- type “Reopen in container” and select the Dev Container command to do so.
- Select the
Geoprocessing Local Stableenvironment. - VSCode will pull the latest
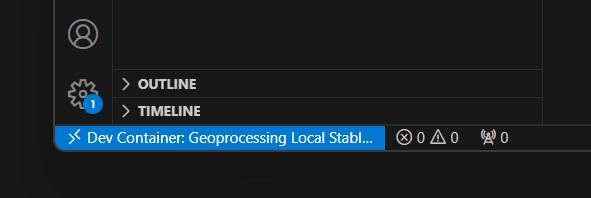
geoprocessing-workspacedocker image, create a container with it, and start a remote code experience inside the container. - Notice the bottom left blue icon in your vscode window. It may say
Opening remote connectionand eventually will sayDev Container: Geoprocessing. This is telling you that this VSCode window is running in a devcontainer environment.

You now have a running devcontainer, ready to create a project in. To exit your devcontainer:
- Click the blue icon in the bottom left, and then
Reopen locally. This will bring VSCode back out of the devcontainer session. - You can also type
Ctrl-Shift-PorCmd-Shift-Pand selectDev Containers: Reopen folder locally.

If you get an error in red, as your devcontainer tries to start, choose the option to "reopen locally" and you will be presented with a log file that should contain the relevant error buried within it.

In most cases, the issue is that you did not create your .env properly. Revisit the instructions above as necessary.
To update to the latest geoprocessing-workspace Docker image in the future use the upgrade tutorial.
- To learn more about devcontainers visit the devcontainer guide.
Windows WSL Install
Requirement: Windows 11 or newer
Why use Windows Subsystem for Linux (WSL) to develop geoprocessing projects instead of using the Docker Desktop? Because WSL is faster than Docker Desktop alone. And because WSL provides a built-in filesystem bridge allowing you to access all your Windows drives in the Ubuntu container (via /mnt path).
To get started in Windows:
- Install Powershell for Windows
- Install WSL with Ubuntu distribution
- If you already have WSL Version 2 installed, make sure it's up to date by running
wsl --updatein PowerShell - Install the default Ubuntu distribution as directed.
- If you already have WSL Version 2 installed, make sure it's up to date by running
- Install Docker Desktop with WSL2 support.
- Once installed, make sure Docker Desktop is running
- If you already had Docker Desktop installed, make sure it's updated to the latest version.
- Install VS Code for Windows with WSL extension.
Geoprocessing Distribution
A version of the geoprocessing-workspace Docker image has been packaged by the SeaSketch team for running in WSL. It's pre-configured with all dependencies. You can download, import, and run it right alongside the default Ubuntu distribution.
- Open Powershell in Windows
- Create a tmp directory
mkdir C:\tmp
-
Download the most recent
geoprocessing-workspacezip file from the SeaSketch Box folder to this tmp directory and then unzip it. -
Create a second directory and import the distribution:
mkdir C:\WslDistributions\gp-stable-20241223
wsl --import "gp-stable-20241223" C:\WslDistributions\gp-stable-20241223 C:\tmp\gp-stable_20241223.tar
-
Be sure to update the filename in the import command above to match your tar file.
-
If import is started correctly, you will see the message
Import in progress, this may take a few minutes.... Once done it should sayThe operation completed successfully. If it didn't import successfully, try restarting your system, WSL may not have been running properly. -
Setup Terminal Profile
- This will create a shortcut to start an instance of your geoprocessing workspace image.
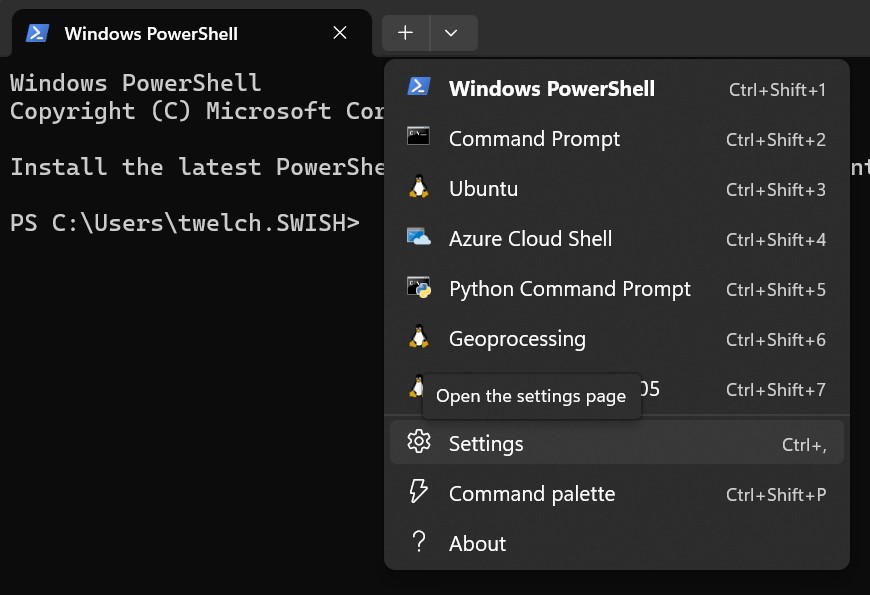
- In PowerShell, click the down arrow in the tab bar, to the right of the (+) icon, then click Settings.

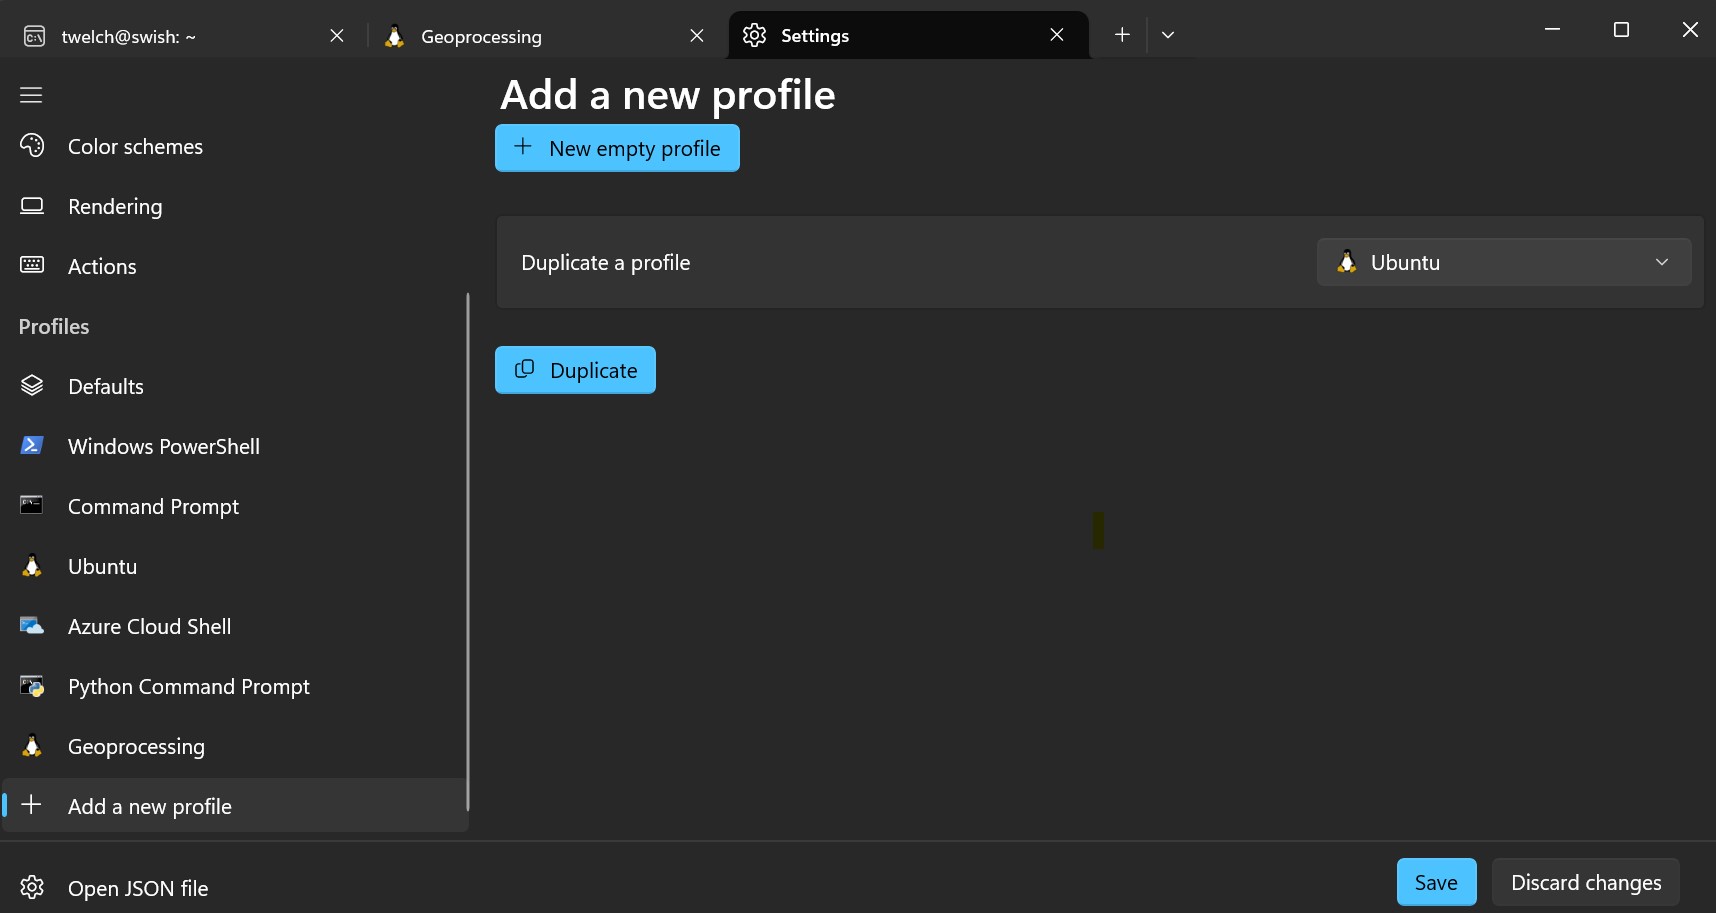
- Find the Profiles section in left sidebar -> click
Add a new profile - The, under
Duplicate a profile, clickUbuntu, thenDuplicatebutton.

- Change the profiles Terminal command from
C:\WINDOWS\system32\wsl.exe -d UbuntutoC:\WINDOWS\system32\wsl.exe -u vscode -d gp-stable-20241223. This will ensure that Geoprocessing starts with the correct image (gp-stable-20241223), and the right user (vscode). - Save and exit your new profile
- The Terminal dropdown menu should now have a new
gp-stable-20241223choice. Click this to start an instance of the Geoprocessing Distribution. It will open a shell, logged in with the vscode user.
In the Geoprocessing shell, setup the workspaces directory where you will create projects:
sudo mkdir /workspaces
sudo chmod 777 /workspaces
cd /workspaces
Now open VSCode in your workspaces directory:
code .
Install recommended VSCode extensions when prompted. If not prompted, go to the Extensions panel on the left side and install the following extensions
- Remote Development
- Remote Explorer
- Docker
- Dev Containers
Check to make sure you have access to your Windows filesystem:
ls /mnt/c
Follow the final configuration steps below, then move on to creating a new project.
Upgrade steps for the Geoprocessing Distribution are available.
Default Ubuntu Distribution
Only follow these install steps if you intend to setup and use the default Ubuntu Distribution in WSL instead of the pre-configured Geoprocessing Distribution (above).
Supported Ubuntu version: 24.04 Noble
- Open Windows start menu -> start typing
Ubuntu on Windows-> SelectUbuntu on Windows- This will start Ubuntu virtual machine and open a bash shell in your home directory.
In Ubuntu shell:
- Install Java runtime in Ubuntu (required by AWS CDK library)
- Install Git in Ubuntu and Windows
- Install VS Code in Windows and setup with WSL2.
- Install recommended extensions when prompted. If not prompted, go to the
Extensionspanel on the left side and install the extensions named in this file
- Install recommended extensions when prompted. If not prompted, go to the
- Install Node JS >= 22.12.0 in Ubuntu
- nvm is great for this
- First, install nvm. May ask you to first install XCode developer tools which is available through the App Store or follow the instructions provided.
- Then
nvm install v22.12.0.
- Then open your Terminal app of choice and run
node -vto check your node version
- nvm is great for this
- Install latest NPM package manager after installing node.
npm --versionto checknpm install -g latest
Ubuntu Direct Install
Requirement: Ubuntu 24.04 Noble or newer
Setup is for a physical machine running the Ubuntu operating system.
From a Ubuntu terminal with root access, simply follow the steps above for default ubuntu installation
Final Configuration - all install options
The last step, regardless of install option, is to set the username and email address git will associate with your commits.
You can set these per repository, or globally for all repositories on your system (and override as needed). Here's the commands to set globally for your environment.
git config --global user.name "Your Name"
git config --global user.email "yourusername@youremail.com"
Now verify it was set:
# If you set global - all repos
cat ~/.gitconfig

# If you set local - current repo
cat .git/config
Your environment is now ready for a project